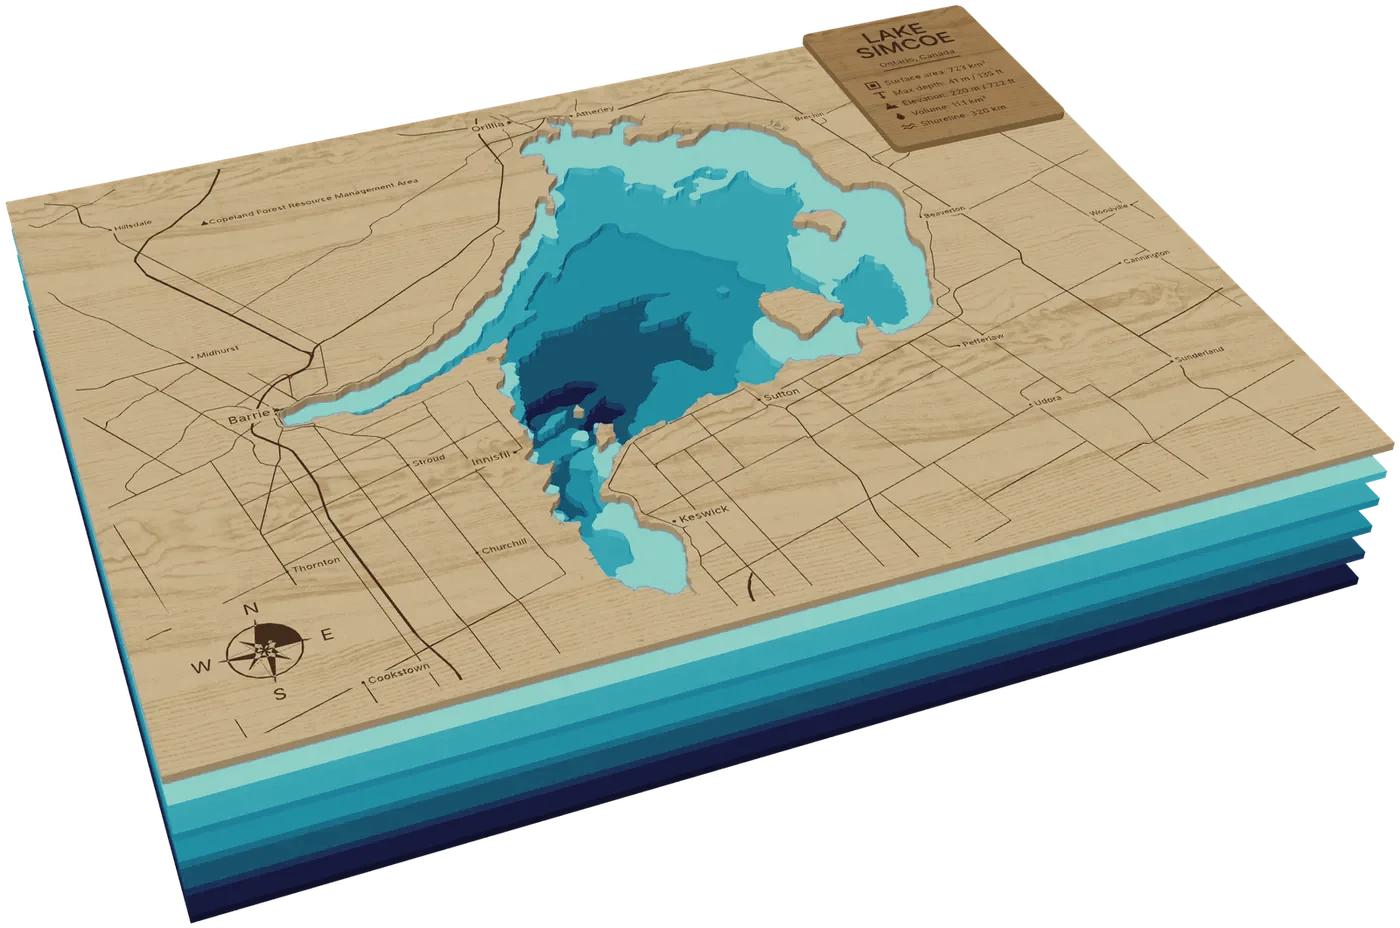
Where the depths come from
More than 12,000 lakes have surveyed depths, from government sources in the United States and Canada (NOAA and state and provincial agencies). A badge in the studio shows which survey covers the lake you pick. Lakes without a survey get estimated depths, marked as such.
What you get
Click a lake and the plaque frame fits around it (300 × 400 mm by default). From the bottom:
- The deepest water: one full sheet.
- Water layers: 2 to 16 in total, each cut at a round depth in feet or metres, with the depths optionally engraved along the edges.
- Land: the lake cut out, with roads, towns, borders, parks, rivers and a compass rose engraved.
- An optional panel with the lake's name, size and depth.
Cutting and nesting
Download all sheets asks for your stock sheet size and nests every loose piece onto as few sheets as possible, each piece numbered. The zip includes an assembly guide showing where every piece goes, layer by layer.
Framing is free. The preview of a new place costs 1 credit and its laser files 4 credits; after that, changing any setting and downloading again is free.
The files
You get one file per sheet, sized in millimetres, as SVG or DXF. Red hairlines are cuts, black fills are engraving and blue hairlines are scored glue guides, so map those three colours to three layers in LightBurn, xTool Creative Space, Glowforge or similar software. Text is already turned into outlines, so you don't need any fonts.
Every zip includes a README.txt with the design's size, sheet thickness, kerf, the layers from bottom to top and how to put them together.
Materials, kerf and settings
Most layered maps are cut from 3 mm (1/8 in) sheets: birch plywood or MDF for land, cast acrylic for water. Set the sheet thickness in the studio and the 3D preview and stack height follow it. Thicker sheets give deeper steps, but the stack gets tall quickly with many layers.
Set the kerf, the width of material your beam burns away, so pieces fit as drawn. To measure it, cut a 20 mm square from the material you'll use and measure it: the kerf is 20 mm minus what you measure.
Power and speed depend on your laser, lens and material, so run a test on scrap from the same sheet before cutting the real thing, and never leave the laser unattended.
Gluing it up
Work from the bottom sheet up. Sheets that reach the edge line up by their outer frame; loose pieces such as islands have a scored guide on the sheet below, set in a little so the piece covers the line once it's glued.
Use wood glue between wooden sheets and a glue that dries clear and won't fog acrylic (or double-sided transfer tape) on acrylic. Press the stack flat under weight while it dries.
Start from a famous place
Each link opens the studio there; pick your frame and generate.
Questions
Is my lake covered?
Open the studio and click it: the badge says which survey covers it. Surveys cover more than 12,000 lakes, mostly in the United States and Canada; other lakes get estimated depths.
Feet or metres?
Either. Lakes in the United States start in feet; switch at any time and the layers are cut at round values in that unit.
How many layers should I use?
It depends on the lake's shape. More layers show finer steps but make a taller stack with more pieces to glue. Changing the count is free once the lake is generated, so try a few and compare them in the 3D preview.
Ready to cut? The assembly guide goes step by step from test cut to frame, and the FAQ answers the usual questions.